Building a Koji Incubation Box from a Foam Cooler & Heat Mat
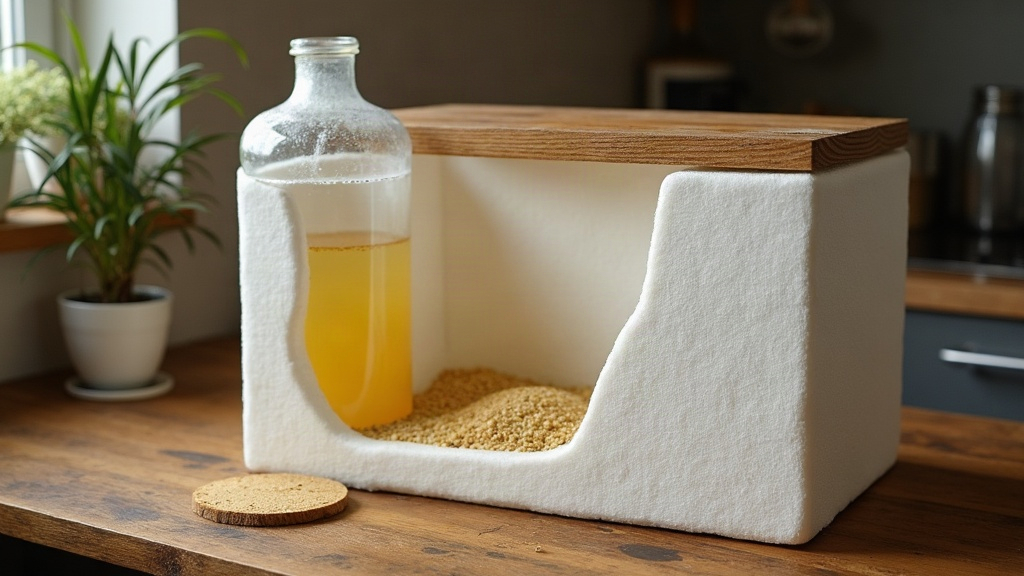
How to Build a Koji Incubator from a Foam Cooler
Making koji at home means holding rice or barley inoculated with Aspergillus oryzae spores at a steady 80-86°F (27-30°C) with high humidity for 36-48 hours straight. That’s the whole trick, really: heat, moisture, time. A cheap foam cooler paired with a seedling heat mat turns out to be one of the most reliable, wallet-friendly ways to hit that target, and this guide walks through exactly how to put one together.
Why a Foam Cooler Works So Well
Foam (EPS or XPS) coolers make surprisingly good koji incubators, for three reasons:
- Insulation: foam holds heat evenly, no hot spots the way you’d get with a metal or plastic bin.
- Size: a standard 25-48 quart cooler holds several trays of rice while still fitting comfortably on a kitchen counter.
- Low cost: most people already have one sitting in a garage, or can grab a used one for a few bucks.
Seedling heat mats were designed for germinating plants somewhere between 70-90°F, which just happens to overlap almost exactly with what koji needs to thrive. That overlap makes them a near-perfect, cheap stand-in for a commercial incubator.
What You’ll Need
- A foam cooler (25+ quarts recommended if you’re doing batches over 1 lb of rice)
- A seedling heat mat (look for one rated 40-108°F with a built-in thermostat, or pair a basic mat with a separate controller)
- An Inkbird or similar external temperature controller (highly recommended; mats on their own tend to overheat)
- A digital probe thermometer/hygrometer
- Perforated hotel pans or bamboo koji trays
- A damp towel or cheesecloth for humidity
- A wire rack or small risers to keep trays off the direct heat source
Step-by-Step Build
1. Prep the Cooler
Cut a small hole near the top of the cooler wall for the thermometer probe and the heat mat’s power cord. Leave the lid intact and closed the rest of the time; you want minimal air exchange, not a vent.
2. Place the Heat Mat
Lay the mat flat on the bottom of the cooler. Never set koji trays directly on top of it. Direct contact scorches the rice and leads to uneven fermentation, every time. Instead:
- Add a thin wire rack, or even a few wooden skewers laid side by side, as risers
- Set your koji trays on top, leaving airspace underneath so heat can circulate
3. Wire in a Thermostat Controller
This is the step most DIY builds skip, and it’s the one people regret skipping. A seedling mat left to run on its own can overheat a sealed cooler by 15-20°F above ambient, which is more than enough to kill your culture (Aspergillus starts dying above 95°F/35°C). Plug the mat into an external controller set to hold 82°F (28°C), and tape the probe inside the cooler at tray height, not touching the mat itself.
4. Manage Humidity
Koji wants 80-90% relative humidity, which is higher than most kitchens naturally offer. Fold a damp (not dripping) towel into the bottom of the cooler and refresh it every 8-12 hours. A small dish of water works in a pinch too, though a towel spreads moisture more evenly across the space.
5. Monitor and Adjust
Crack the lid slightly every 8-10 hours to let built-up CO2 escape and give the rice a gentle mix. This is also roughly when you’d do your first “hand mixing,” around hour 12, breaking up any clumps, and again around hour 24, which lines up with standard koji timing.
Troubleshooting Common Problems
Temperature spikes above 90°F Your controller probe is probably sitting too close to the mat. Move it up to tray level and drop the thermostat setpoint by 2-3°F.
Koji growing unevenly Almost always hot spots from direct mat contact, or airflow that isn’t reaching every corner. Rotate the trays halfway through the incubation window.
Rice drying out Bump up humidity with a second damp towel, or cover the trays loosely with plastic wrap poked with a few small holes for airflow.
Sour or off smell Usually points to contamination from equipment that wasn’t properly sanitized, or ambient moisture pooling somewhere it shouldn’t. Give trays a vinegar rinse before every batch, no exceptions.
Cost Comparison
| Setup | Approx. Cost |
|---|---|
| Foam cooler + heat mat + controller | $35-60 |
| Commercial koji incubator | $200-500+ |
| Proofing box conversion | $80-150 |
If you’re only making a few batches a year, the cooler setup gets you professional-level consistency for a fraction of what a commercial unit costs. Not a bad trade.
Conclusion
A foam cooler and a seedling heat mat, combined, give home fermenters a genuinely dependable, low-cost koji incubator, as long as you add an external thermostat controller and stay on top of humidity. Keep temperatures steady in that 80-86°F band, watch it closely over 36-48 hours, and this modest DIY rig can produce koji that rivals setups costing five or ten times as much. From there, homemade miso, shio koji, amazake, whatever you’re chasing, is well within reach.