Asian Pears in Raw Honey: A First-Timer's Probiotic Spoon Sweet
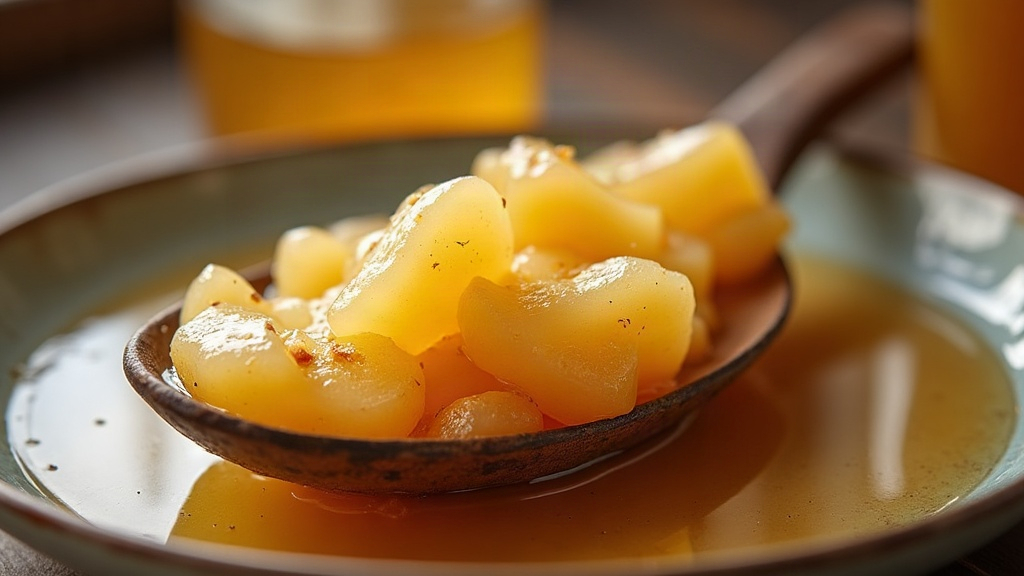
Fermenting Asian pears in raw honey might be the simplest route into probiotic “spoon sweets.” You end up with a jar of fruit that slowly turns fizzy, syrupy, and alive with wild yeasts and good bacteria. The method itself couldn’t be more basic: layer thin pear slices with raw, unpasteurized honey, let osmosis do the work of pulling out juice, and wait for fermentation to take over. No starter culture. No whey. No gadgets.
This guide covers the whole process, from choosing the right pears to spotting the moment your ferment is actually ready to eat.
Why Asian Pears Work So Well
Asian pears (sometimes called nashi, or apple pears) are almost tailor-made for this kind of ferment. Here’s why:
- Crisp and juicy. They give up their liquid fast, which matters a lot since that juice dilutes the honey enough for wild yeasts to wake up.
- Mildly sweet, never overpowering. Their flavor is delicate enough to let honey’s floral notes shine instead of competing with them.
- Firm-fleshed. Unlike softer pear varieties, they hold their shape in the jar, so even after a few weeks of fermenting you still get a decent bite.
Regular pears or apples will work in a pinch, but if you’re new to this, Asian pears tend to bubble up faster and more reliably than almost anything else.
What You’ll Need
- 2-3 ripe but firm Asian pears
- 1-2 cups raw, unfiltered, unpasteurized honey (pasteurized honey has had the wild yeasts killed off, so skip it)
- A clean pint or quart jar
- A fermentation weight, a small glass, or even a clean rock, anything to keep the pears submerged
- A breathable lid: cloth, a coffee filter, or a loosely closed jar lid that you “burp” once a day
Step-by-Step Process
1. Prep the Pears
Wash them, but leave the skin on. That skin is carrying the wild yeast that gets the whole thing started. Core the pears and slice them thin, around ¼ inch (6mm), thin enough to pack into the jar easily and release juice quickly.
2. Layer with Honey
Spoon a bit of honey into the bottom of the jar first. Add a layer of pear slices, then more honey, and keep repeating until the jar’s about three-quarters full. Finish with a thick layer of honey on top, enough that no fruit is left exposed to air.
3. Weigh It Down
A fermentation weight or a small shot glass works fine here, anything that keeps the pear slices pushed down under the honey-juice mix. Exposed fruit is the number one cause of mold in a ferment like this, so don’t skip this step even if it feels unnecessary.
4. Loosely Cover
Fermentation makes gas, so sealing the jar tight is a bad idea (think mini explosion, not literally, but close). Secure a cloth over the top with a rubber band, or close the lid loosely and crack it open once a day to let pressure escape.
5. Wait and Watch
Find a spot out of direct sunlight, room temperature, ideally somewhere between 65-75°F (18-24°C). Over the next 3 to 10 days, keep an eye out for:
- Tiny bubbles drifting up through the honey
- A noticeably thinner, more liquid texture
- A tangy, sweet smell (if it smells sour or “off,” something’s wrong)
Give the jar a gentle stir or shake once a day. This redistributes the honey and keeps mold from getting a foothold on any fruit that pokes up.
When Is It Ready?
Most jars hit that lightly fermented, ready-to-eat stage somewhere between 1 and 2 weeks. A few signs it’s working:
- The honey’s gone runnier, maybe even a little frothy
- Tilt the jar and you’ll see small bubbles rise
- The pears taste tangy-sweet, not flat or just sugary
Want something with more probiotic punch? Let it go 3 to 4 weeks, tasting every few days along the way. Once it hits the flavor you’re after, move it to the fridge. Cold slows fermentation way down, though the flavor keeps quietly developing for months in there.
Troubleshooting Common Issues
- White film on top: That’s probably kahm yeast, which is harmless. Just skim it off and keep going. True mold looks fuzzy and comes in green, black, or pink. If you see that, toss the batch.
- No bubbles after a week: Either your room’s too cold, or the honey was pasteurized to begin with. Try a warmer spot, or switch to a different honey brand.
- Overflowing jar: Warm weather speeds up gas production fast. Burp the lid more often, or switch to a bigger jar with more headspace.
How to Use Your Fermented Pears
Spoon the pears and their honey over yogurt, pancakes, or a bowl of oatmeal. Stir a spoonful into sparkling water and you’ve got a homemade probiotic soda. Or just eat it off the spoon, straight up, tangy and sweet. Even the honey on its own is worth saving, it’s excellent drizzled over cheese or roasted vegetables.
Final Thoughts
Fermenting Asian pears in raw honey is about as low-risk as wild fermentation gets, and the payoff is real. Two ingredients, one jar, a bit of patience, and you end up with a probiotic-rich spoon sweet that beats anything you’d find on a store shelf. Once you’ve got the basic rhythm down, there’s plenty of room to play: try other fruits, toss in some ginger or cinnamon, stretch out the ferment time, and build a version that’s entirely your own.