Harvesting Yeast from Bottle Dregs with a Stir Plate for a Stout
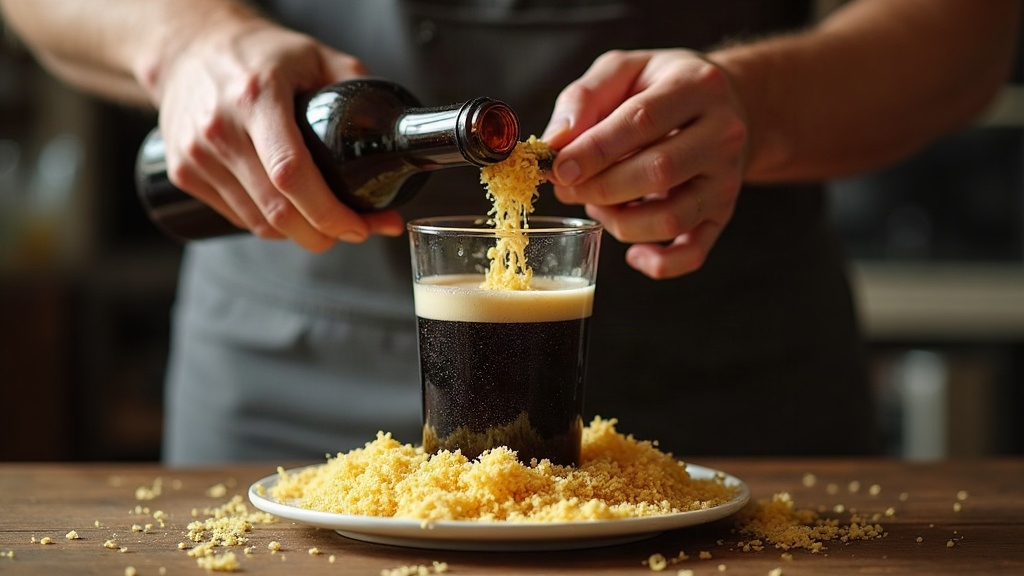
Harvesting Yeast from Bottle Dregs for a Big Stout
Got an empty bottle of bottle-conditioned beer sitting on the counter? You’re closer to brewing a high-gravity stout than you’d think. Harvesting yeast from the dregs with a stir plate lets you capture live, often rare strains for free, then multiply them up to a cell count that can actually handle a thick, high-ABV stout without stalling or throwing off flavors. It takes patience and a near-obsessive approach to sanitation, but the payoff is a strain you’d never stumble across at a homebrew shop.
Why Harvest Yeast from Bottle Dregs?
A lot of commercial breweries bottle-condition with a house strain that never gets sold on its own. Think trappist ales, barleywines, barrel-aged imperial stouts. The sludge at the bottom of those bottles is frequently the exact yeast used in primary fermentation, not some generic bottling strain. Harvesting it gets you:
- Access to unique, proprietary strains (Belgian, English, wild blends)
- Real savings compared to buying a vial or smack pack (those run $7-10 each, and you might need two)
- A low-risk way to actually learn yeast propagation instead of just reading about it
Here’s the catch, though: bottle dregs typically hold only a few hundred thousand to a few million cells. A 5-gallon imperial stout wants something like 200-300 billion cells. That gap is enormous, and it’s exactly why the stir plate matters.
Step 1: Choose the Right Bottle
Look for a beer that is:
- Bottle-conditioned (check the label or the brewery’s site for phrases like “unfiltered,” “live yeast,” or “naturally carbonated”)
- Fresh (younger bottles mean more viable cells; a bottle sitting in your fridge for two years is a gamble)
- Not pasteurized (pasteurized beer has dead yeast, period, so don’t bother trying)
Good candidates include Belgian trappist ales, English bottle-conditioned ales, and plenty of American barrel-aged stouts from small breweries that still condition in the bottle rather than force-carbonate.
Step 2: Build a Small Starter First
Resist the urge to jump straight into a 2-liter starter. The cell count sitting in those dregs is too small for that; dump it into a huge volume of wort and you’ll just stress the yeast out before it even gets going. Instead, work up gradually:
- Sanitize the bottle’s exterior along with an empty mason jar or flask.
- Pour off about 90% of the beer, leaving roughly 50-100 mL behind along with the sediment.
- Swirl it hard to get that yeast cake back into suspension.
- Pitch this slurry into 150-200 mL of 1.030-1.040 SG wort (a light DME solution does the job fine).
- Set it on the stir plate at low-medium speed, covered loosely with foil or an airlock.
Give this first-step starter 24-48 hours at room temperature to ferment out.
Step 3: Step Up for a Big Stout
If you’re aiming for a stout in the 1.080-1.100+ OG range, you need a serious pitch rate behind it. Once the first starter has finished fermenting and you can see flocculation or clear activity, start stepping up:
- Step 2: Decant the spent beer, add 500 mL of 1.040 wort, and put it back on the stir plate for 24-48 hours.
- Step 3: Decant again, add 1-1.5 liters of wort, stir for another 1-2 days.
- Step 4 (only if you’re chasing a really high gravity): Repeat once more at 2 liters.
Decant between every single step. Skip this and the leftover spent wort just dilutes nutrients and introduces off-flavors you don’t want in your finished beer. Run your numbers through a yeast calculator (Brewer’s Friend or Yeast Calculator’s pitch rate tool work well) to confirm your final volume actually hits the target cell count for your stout’s OG and batch size.
Stir Plate Tips for Success
- Stir speed: You want a visible vortex, but not so aggressive that wort is splashing up the sides of the flask.
- Temperature: Room temp, around 68-72°F, suits most ale strains just fine.
- Sanitation: Every single transfer is a chance to contaminate your starter, so use StarSan or iodophor like it’s non-negotiable (because it is).
- Smell test: A healthy starter smells yeasty, almost bready. If it smells sulfuric, vinegary, or just off, toss it and start over.
- Timing: Budget 5-7 days total, from popping the dregs bottle to having a pitchable starter ready for a big stout.
Common Mistakes to Avoid
- Skipping decanting between steps, which dilutes both gravity and flavor
- Jumping to a high-gravity wort too early, which stresses out a low cell count
- Harvesting from a pasteurized or filtered beer (there’s simply no viable yeast left in there)
- Rushing the timeline and not giving the yeast enough total propagation time before brew day
Final Thoughts
Harvesting yeast from bottle dregs with a stir plate is a genuinely rewarding, cheap way to get unique strains for your next big stout. Patience is really the whole game: start small, step up gradually, decant at every stage, and sanitize like your batch depends on it (it does). Get this right, and that dusty bottle sitting on your shelf turns into the foundation of a rich, complex stout fermented with a strain you couldn’t buy from anyone, anywhere.