Making Thick Strained Labneh From Raw Milk Without a Yogurt Maker
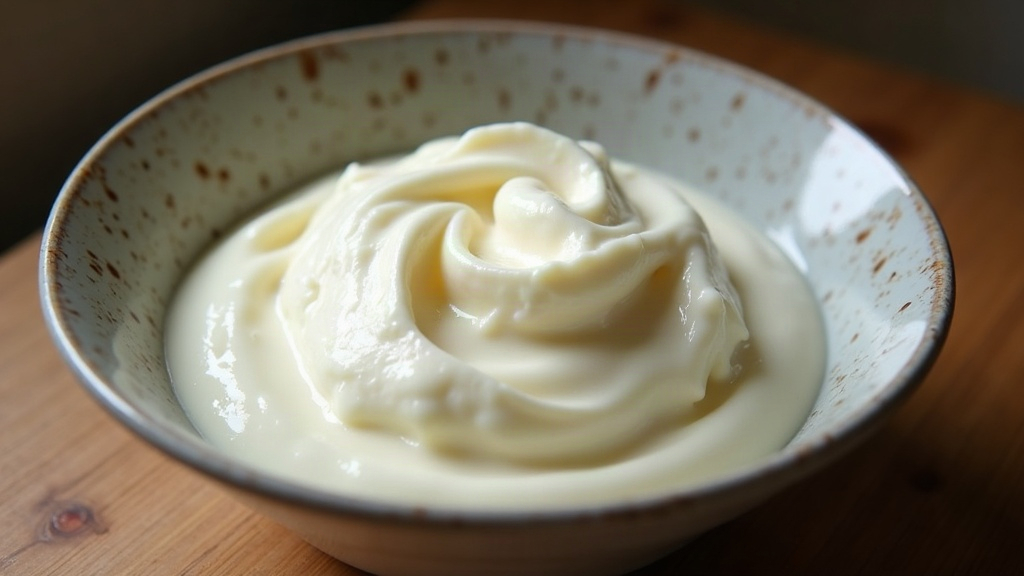
Making thick, strained labneh from raw milk doesn’t require a yogurt maker. A pot, a thermometer, a clean kitchen towel, and a bit of patience will get you there. Labneh is that rich, tangy Middle Eastern strained yogurt cheese, the kind you spread on warm pita or roll into little balls and drown in olive oil. Raw milk pushes the flavor even further, giving it a creamier, deeper character than anything made with pasteurized milk from a carton. Below is the full process, from culturing raw milk into yogurt to straining it down into labneh, using nothing but basic kitchen tools you probably already own.
Why Raw Milk Makes Exceptional Labneh
Raw milk carries more natural butterfat and a livelier population of beneficial bacteria than the ultra-pasteurized stuff from the grocery store. Culture it properly and you get a yogurt with:
- A naturally thicker curd before you’ve even started straining
- A rounder, gentler tang (less sharp acidity than store-bought)
- A golden color and a faint grassy note, depending on what the animal was grazing on
Since raw milk hasn’t been homogenized or blasted with heat treatment, it behaves a little differently in the pot. That means a few extra precautions, nothing complicated, just a bit more attention.
What You’ll Need
- 1 quart (about 1 liter) fresh raw milk (cow or goat)
- 2–3 tablespoons plain yogurt with live active cultures (or a powdered starter)
- A heavy-bottomed pot
- An instant-read or dairy thermometer
- A clean dish towel, butter muslin, or several layers of cheesecloth
- A colander or fine-mesh strainer
- A bowl to catch the whey
- Salt (optional, for flavor and preservation)
Step 1: Gently Heat the Raw Milk
Raw milk doesn’t technically need heating to culture, unlike pasteurized versions. But bringing it up to 180°F (82°C) and holding it there for a minute or two denatures the proteins just enough to set a noticeably thicker yogurt. Stir now and then so it doesn’t catch on the bottom of the pot (scorched milk ruins the whole batch, trust me).
Want to keep more of the raw milk’s natural enzymes intact? Skip the heating step and culture it warm instead, around 110°F. Just know the curd will be looser and you’ll need to strain longer to compensate.
Step 2: Cool to Culturing Temperature
Once heated, bring the milk down to 110–115°F (43–46°C), warm to the touch, not hot. An ice bath speeds this along nicely. Don’t dawdle here: cooling too slowly opens a window for the wrong kind of bacteria to move in.
Step 3: Add the Culture
Whisk in 2–3 tablespoons of live yogurt starter until it’s fully blended into the milk. Transfer everything to a clean glass or ceramic container. Skip metal containers, especially reactive ones like aluminum.
Step 4: Incubate Without a Yogurt Maker
No yogurt maker? No problem. You just need to fake a warm, steady environment for 6–10 hours:
- Oven method: Flip on the oven light only, no heat, and set the covered container inside. The bulb puts off just enough warmth most of the time.
- Cooler method: Wrap the jar in towels, tuck it into an insulated cooler, and set a jar of hot water beside it.
- Heating pad method: Set a heating pad to low, wrap the container in a towel, and rest it on top.
Check in around the 6-hour mark. Raw milk yogurt often sets faster than the pasteurized kind, so don’t walk away for a full 10 hours expecting the same timeline. It’s done when it’s thickened up and tastes pleasantly tangy.
Step 5: Chill Before Straining
Pop the fresh yogurt in the fridge for at least 2 hours. The cold firms up the curd, which makes for a cleaner strain and keeps you from losing too much whey in the process.
Step 6: Strain Into Labneh
This is the step where yogurt actually turns into labneh:
- Line a colander with a clean towel, butter muslin, or several layers of cheesecloth.
- Set the colander over a bowl to catch the whey.
- Pour in the chilled yogurt, gather up the cloth, and tie it loosely.
- Let it strain in the fridge for 8–24 hours, depending on how thick you want it.
- 8–12 hours gives you soft, spreadable labneh, think thick Greek yogurt.
- 18–24 hours gets you firm, scoopable labneh, the kind you can roll into balls.
Don’t toss the whey. It’s genuinely useful stirred into smoothies, kneaded into bread dough, or simmered into soups.
Step 7: Season and Store
Once it’s strained to your liking, stir in salt to taste, about ½ teaspoon per cup is a reasonable starting point. Keep it in an airtight container in the fridge for up to two weeks. If you want it to last longer, roll small balls of labneh and submerge them in olive oil, a classic preservation trick that also happens to taste incredible.
Common Questions
Can I use raw goat milk? Absolutely. Goat milk labneh is traditional across many regions, and because the fat globules are naturally smaller, it tends to strain a bit faster than cow’s milk.
Why is my labneh too runny? Usually one of two culprits: the culture didn’t ferment long enough, or the straining cloth had too loose a weave. Switch to a tighter fabric and give it more time in the fridge.
Is raw milk safe for yogurt-making? It comes down to sourcing. Use milk from a trusted, clean dairy, one you’d feel comfortable drinking straight. The fermentation itself is generally safe as long as you keep your temperatures and your equipment clean.
Final Thoughts
Really, making labneh from raw milk without a yogurt maker comes down to two variables: a warm space for culturing and enough patience for straining. With tools you probably already have sitting in a kitchen drawer, you can turn out a thick, tangy, homemade labneh that holds its own against anything from a specialty cheese shop. Drizzle it with olive oil, spread it on warm bread, or roll it into oil-cured balls to save for later. However you serve it, it’s worth the wait.