Lacto-Fermented Winter Radish & Celery Root Remoulade Pickle
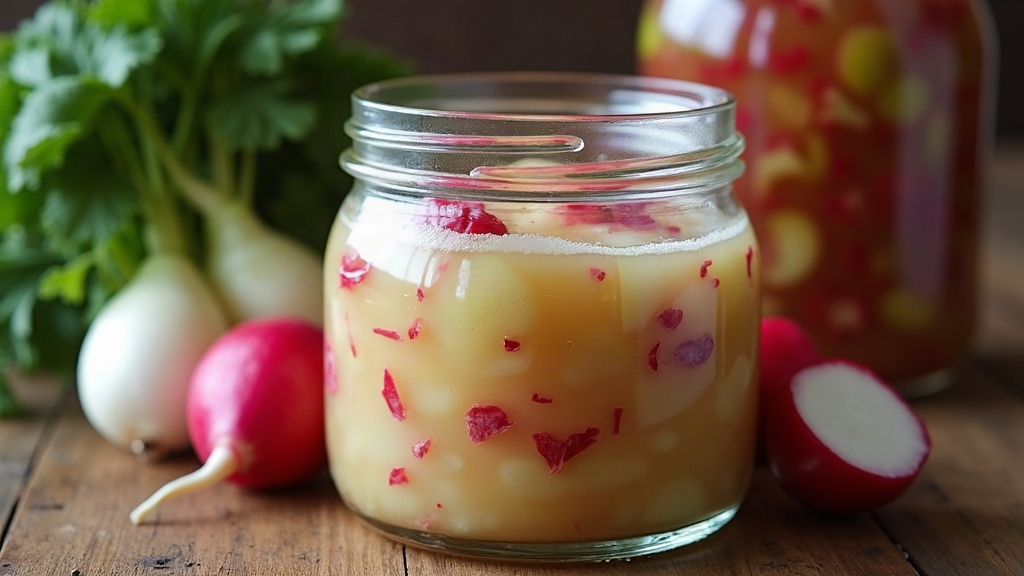
Fermenting winter radish and celery root together gives you a crunchy, tangy pickle with real remoulade DNA: the peppery snap of radish meets the earthy sweetness of celeriac, and the whole thing preserves itself through beneficial bacteria instead of vinegar or a hot water bath. Prep takes about 15 minutes. The rest is just waiting.
Why This Combination Works
Winter radish (daikon, black radish, watermelon radish, take your pick) and celery root are both dense, low-moisture roots that hold their structure through fermentation in a way that, say, cucumbers never quite manage. Cukes go soft and a little mushy after a few weeks in brine. These roots don’t. They can sit for months and still snap when you bite into them.
There’s a flavor logic here too. Sharp, mustardy, a little sweet, slightly herbaceous: that’s basically the flavor profile of classic French remoulade, minus the mayonnaise.
And since both vegetables peak in the colder months, this is a solid way to use what’s actually in season instead of grabbing another jar of something loaded with preservatives off a shelf.
What You’ll Need
Vegetables (about 2 lbs total):
- 1 medium celery root, peeled and julienned or grated coarsely
- 1-2 winter radishes (daikon or black radish), julienned or grated
- 1 small carrot (optional, mostly for color and a bit of sweetness)
Brine and flavorings:
- 2% salt by weight of vegetables (roughly 1.5 tablespoons fine sea salt per 2 lbs produce)
- 1 tablespoon whole mustard seeds
- 1 teaspoon caraway or celery seeds
- 2-3 cloves garlic, thinly sliced
- A few sprigs of fresh dill or tarragon (optional, but it leans into the remoulade thing nicely)
- 1 bay leaf
Step-by-Step Method
1. Prep the Vegetables
Peel the celery root and radish, then shred or julienne into thin strips with a mandoline, box grater, or food processor. The thinner the cut, the faster it ferments and the crisper it stays. Don’t rush this part with a dull knife, you’ll end up with chunks instead of ribbons.
2. Salt and Massage
Weigh the shredded vegetables first. Say you’ve got 900 grams. Two percent of that is 18 grams of salt, roughly a tablespoon and a half. Toss it through thoroughly and massage the mix for 3-5 minutes until liquid starts pooling at the bottom of the bowl. That liquid is your brine. Don’t add water unless things look genuinely dry, which is rare.
3. Pack the Jar
Layer in the mustard seeds, caraway, garlic, and herbs as you pack everything tightly into a clean quart jar. Press down hard, really lean into it, so the liquid rises above the vegetables. Leave at least an inch of headspace at the top, because things can bubble up as fermentation kicks in.
4. Weigh It Down
A fermentation weight works, but a small cabbage leaf tucked on top or a water-filled ziplock bag does the job just as well. The goal is simple: keep everything under the liquid. Air pockets are where mold sneaks in, so don’t get lazy here.
5. Ferment
Cover loosely with a lid, or use an airlock if you have one, and let it sit at room temperature (65-72°F is the sweet spot) for 5-10 days. Start tasting on day 4. You want a pleasant tang, something like a good pickle, not a mouth-puckering sourness that tells you it went too far.
6. Refrigerate
Once it tastes right, tart, savory, still crunchy, move the jar to the fridge. It’ll keep mellowing slowly from there and stays good for 2-3 months.
Troubleshooting Common Issues
- Cloudy brine: Totally normal. That’s fermentation activity, not spoilage.
- White film on top: Probably kahm yeast. Harmless, but skim it off anyway.
- Fuzzy black, pink, or green mold: Toss the whole batch. That’s contamination, usually from vegetables poking above the brine line.
- Too salty: Rinse a portion briefly before eating, or cut it with a little honey or lemon when you plate it.
Serving Ideas
This fermented remoulade-style pickle works well in a lot of places:
- Piled onto sandwiches or grain bowls for crunch and acidity
- Served next to roasted meats as a palate cleanser
- Stirred into a spoonful of mayo or yogurt for an instant deli-style remoulade
- Tossed into winter salads for a probiotic kick
Conclusion
This is a low-effort, high-reward project. Salt, time, a handful of aromatics, and a couple of root vegetables most people overlook turn into something far more interesting (and far better for your gut) than anything you’d find pre-made at the store. And honestly, it just keeps getting better the longer it sits in the fridge.