How to Ferment Green Tomatoes into Tangy Probiotic Pickles, No Starter
How to Ferment Green Tomatoes into Tangy Probiotic Pickles, No Starter
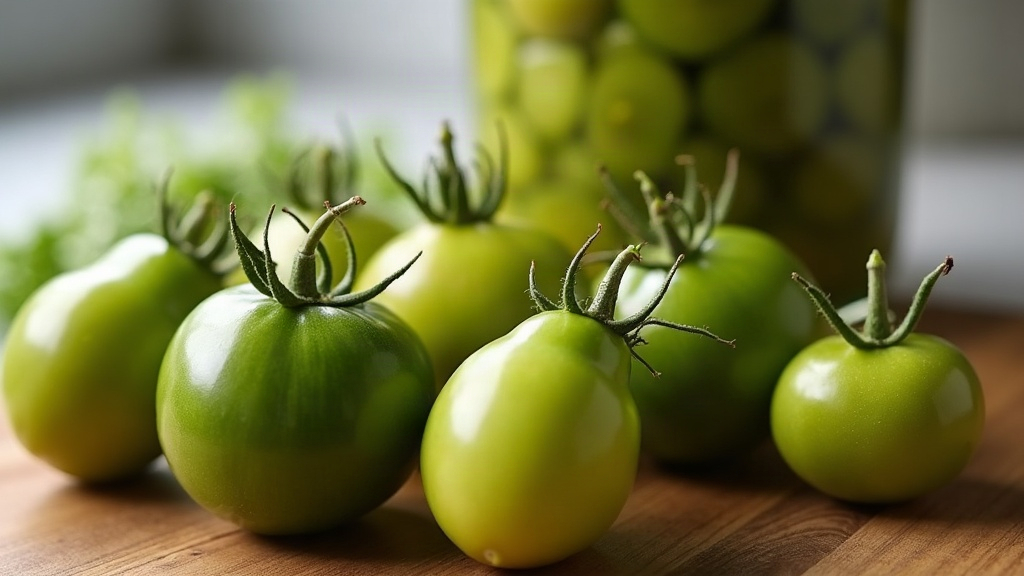
Green tomatoes get overlooked most of the year, then suddenly there’s a bucket of them on the counter in October and nobody knows what to do. Here’s the answer: ferment them. They’re firm, tart, and honestly better suited to fermentation than to fried green tomato sandwiches (fight me on that later). Submerge them in a plain salt brine and the wild lactic acid bacteria already living on their skins take over, turning dense, acidic fruit into crunchy, tangy, probiotic-loaded pickles. No starter culture, no whey, nothing fancy. A jar, some salt, some water, and time—just like fermenting green beans.
Why You Don’t Need a Starter Culture
Lacto-fermentation runs on bacteria from the Lactobacillus family, and these guys are basically everywhere: on vegetable skins, floating around in your kitchen air, even on your hands. The brine’s job isn’t to introduce anything new. It’s to build conditions where the good bacteria can multiply while mold and nasties like Clostridium get shut out.
- Salt (2-3% brine) keeps pathogens in check and softens the tomatoes’ cell walls so the brine soaks in evenly instead of just sitting on the surface.
- Oxygen exclusion (tomatoes fully submerged) gives anaerobic lactic acid bacteria the edge over mold, which needs air to grow.
- Natural sugars in the tomatoes feed those bacteria, which spit out lactic acid, carbon dioxide, and that unmistakable sour tang.
Give it a few days and the brine clouds up, starts smelling pleasantly sour. That’s not a warning sign, that’s the whole point.
Ingredients and Equipment
For one 1-liter (quart) jar:
- 900 g (about 2 lb) firm, unblemished green tomatoes (any variety works)
- 2-3 cloves garlic, peeled and lightly crushed
- 1 teaspoon whole black peppercorns
- 1-2 teaspoons dill seeds, or a few fresh dill fronds if you have them
- 1 bay leaf (optional, but the tannins help keep pickles crisp)
- 2.5 tablespoons fine non-iodized salt (sea salt or kosher)
- 1 liter (4 cups) filtered or dechlorinated water
Equipment: a clean glass jar, something to weigh the tomatoes down (a smaller jar, a fermentation weight, or even a zip-top bag filled with brine), and a lid or cloth cover.
Step-by-Step Method
1. Prepare the Brine
Dissolve 2.5 tablespoons (about 35 g) of salt into 1 liter of water, roughly a 3% brine. Stir until it disappears completely, no gritty bits left at the bottom. Want it milder and a bit faster? Drop to 2 tablespoons (about 28 g) for a 2% brine. Skip iodized table salt; it can slow fermentation down and leave the brine cloudy in the wrong way.
2. Prep the Tomatoes
Rinse the tomatoes gently, don’t scrub them, since the wild bacteria living on the skins are exactly what you need. Poke each one two or three times with a toothpick or skewer (or just halve the bigger ones) so the brine actually reaches the dense flesh inside instead of staying on the outside.
3. Pack the Jar
Layer tomatoes, garlic, peppercorns, dill, and bay leaf into the jar. Pack them in firmly, but don’t crush them into mush. Pour brine over the top until everything sits at least 2 cm (about 1 inch) below the surface.
4. Submerge and Cover
Set a weight on top so nothing pokes above the liquid line. Even one exposed tomato corner is an invitation for mold. Cover loosely, a lid barely closed or a cloth held on with a rubber band, so the gas building up inside has somewhere to go.
5. Ferment at Room Temperature
Find a spot away from direct sun, ideally 18-22°C (65-72°F). Most batches are ready in 5-10 days. Start tasting around day 4, checking for a sour edge and a bit of fizz on the tongue. Once it tastes right to you, and there’s no single correct day, move the jar to the fridge to slow things way down.
Troubleshooting Common Problems
- White film or sediment on top: Usually harmless kahm yeast, not mold. Skim it off, give it a sniff. Yeasty or mildly sour smell? You’re fine.
- Fuzzy, green, or black growth: That’s mold. Toss the batch. Nine times out of ten it means something floated above the brine line unnoticed.
- Soft or mushy tomatoes: Fermented too warm, or left too long. Next time, keep it cooler and pull the jar a day or two earlier.
- Very cloudy brine: Totally normal, actually a good sign that your bacteria are working hard.
- Sulfur or rotten-egg smell: Discard it. That’s spoilage talking, not fermentation.
Storing and Enjoying
Once refrigerated, these will hold for 6-12 months, getting softer and more sour the longer they sit. Chop them into potato salad, layer them onto a burger, blitz them into a tangy relish or salsa, or just eat them straight out of the jar standing over the sink (no judgment here). Don’t dump the brine either. A spoonful of it carries the same beneficial bacteria as the pickles themselves, so use it in dressings or just drink a small shot of it.
Conclusion
There’s no easier doorway into home fermentation than a jar of green tomatoes, salt, and water. No culture kit, no fuss, just a bit of patience while nature does the actual work. End of season, instead of tossing that last unripe harvest, turn it into something crisp, sour, and better for your gut than half the stuff sitting in the grocery aisle.