Lacto-Fermenting Green Strawberries: A Spring Savory Condiment
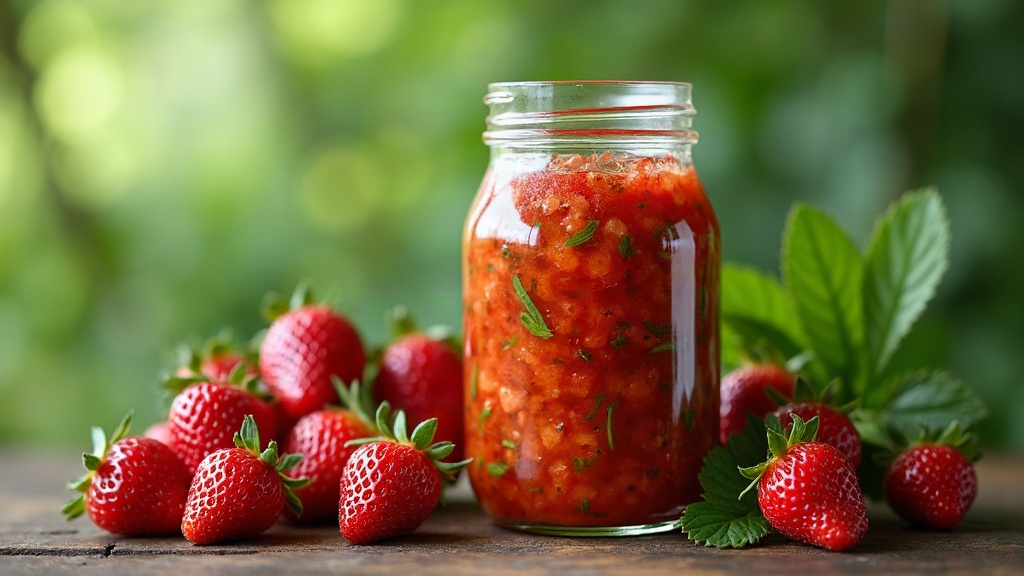
If you grow strawberries, you know the drill every spring: you thin out the smaller, unripe green berries so the rest can size up and actually ripen. Most people toss that pile in the compost bin. Don’t. Lacto-ferment them instead and you get a bright, tangy, savory condiment that tastes a bit like green mango pickle crossed with a tart caper relish. It’s one of the smartest low-waste tricks in a spring garden kitchen, and honestly, the process couldn’t be simpler.
Why Ferment Green Strawberries Instead of Ripe Ones
Unripe strawberries act more like a vegetable than a fruit once they hit the brine. Their firmness and sharp acidity make them perfect candidates for fermentation:
- Low sugar content keeps the ferment savory instead of boozy or cloying.
- Firm flesh holds its shape for weeks in brine, unlike ripe berries, which turn to mush almost immediately.
- Natural tartness, courtesy of unripe malic and citric acids, gives the finished condiment a pucker close to green tomatoes or underripe gooseberries.
- Zero waste. Thinnings that would normally rot in the compost pile become something you actually want to eat.
What You’ll Need
- 1 pound (450g) green (unripe, still hard) strawberries, hulls trimmed if tough
- A 2–3% salt brine (20–30g non-iodized salt per liter of water), or a dry-salt method if you prefer
- A clean quart jar, plus a fermentation weight or airlock lid
- Aromatics: 1 clove garlic, a few black peppercorns, a strip of lemon zest, a small chile, or a sprig of thyme
These berries are small, so don’t bother slicing most of them. Whole or halved, they ferment evenly and keep a satisfying crunch.
Step-by-Step Method
1. Sort and rinse
Toss anything showing a pink blush (it’s already transitioning and will turn soft) or any hint of mold. Stick to uniformly hard, pale green fruit. That’s where the good texture comes from.
2. Prepare the brine
Dissolve the salt completely in non-chlorinated water at a 2–3% ratio. If your kitchen runs warm, go with 3%, it’s a safer bet and slows things down a bit. A 2% brine gives you a milder flavor and a faster ferment.
3. Pack the jar
Layer the berries with whatever aromatics you’ve chosen. Garlic and black pepper give you a classic savory pickle. Lemon zest and thyme push it toward a brighter, herbal direction.
4. Submerge and weigh down
Pour the brine over the berries until they’re fully covered, leaving about an inch of headspace at the top. Use a fermentation weight to keep everything submerged. Exposed fruit is basically an invitation for mold, so don’t skip this step.
5. Ferment at room temperature
Set the jar somewhere between 65–75°F (18–24°C) and let it sit for 7 to 14 days. Check it daily during the first week, and burp the jar if you’re not using an airlock lid. The brine will go cloudy and start fizzing a little, that’s lactic acid bacteria doing their job, not a sign something’s gone wrong.
6. Taste and refrigerate
Start tasting around day 7. You’re after a tangy, faintly funky, pickle-like sourness. Once it tastes the way you want, transfer the jar to the fridge. Fermentation slows way down there, and the condiment will keep for several months.
How to Use the Finished Condiment
Don’t think dessert topping here, this is strictly savory territory:
- Chopped fine over grilled fish or roast chicken
- Folded into a vinaigrette for bitter greens like arugula or radicchio
- Served alongside charcuterie and sharp cheeses, much like you’d use cornichons
- Stirred into a yogurt-based sauce for a tart, herbal dip
Troubleshooting Common Issues
- Mushy texture: usually the berries were too ripe to begin with, or the ferment ran too warm. Keep it under 75°F.
- Mold on top: almost always because fruit floated above the brine line. A weight fixes this every time.
- Too sour too fast: pull the jar into the fridge earlier, or shorten the ferment. Note that fermentation keeps going, just slowly, even when chilled.
- Not sour enough: be patient. In a cool kitchen, it can take up to three weeks to get there.
Final Thoughts
Lacto-fermenting green strawberries takes something that normally ends up in the compost and turns it into a genuinely useful condiment with real depth of flavor. It’s cheap, low-risk, and a great way to practice the fermentation basics, salt ratio, submersion, patience, while rescuing fruit that would otherwise go to waste. Once you taste how well a tart green strawberry works in a savory dish, this stops being a one-off experiment and becomes something you do every spring without thinking twice.